Connect with Us
to Discuss Your Project

How to Prepare a Wall for Painting for a Perfect Finish
Before you open a single can of paint, it’s important to understand how to prepare a wall for painting. Wall prep is the foundation for any successful project—whether you're repainting one room or your entire home. At Liberty Painting, we know that proper preparation makes all the difference in how paint applies, how it dries, and how long it lasts.
Many homeowners ask about how to prep a wall for paint and why this step matters so much. The truth is, even the best-quality paint won't perform well on a dirty, uneven, or damaged surface. Good prep ensures smooth application, better color payoff, and fewer problems down the road.
Start with a Clean Surface
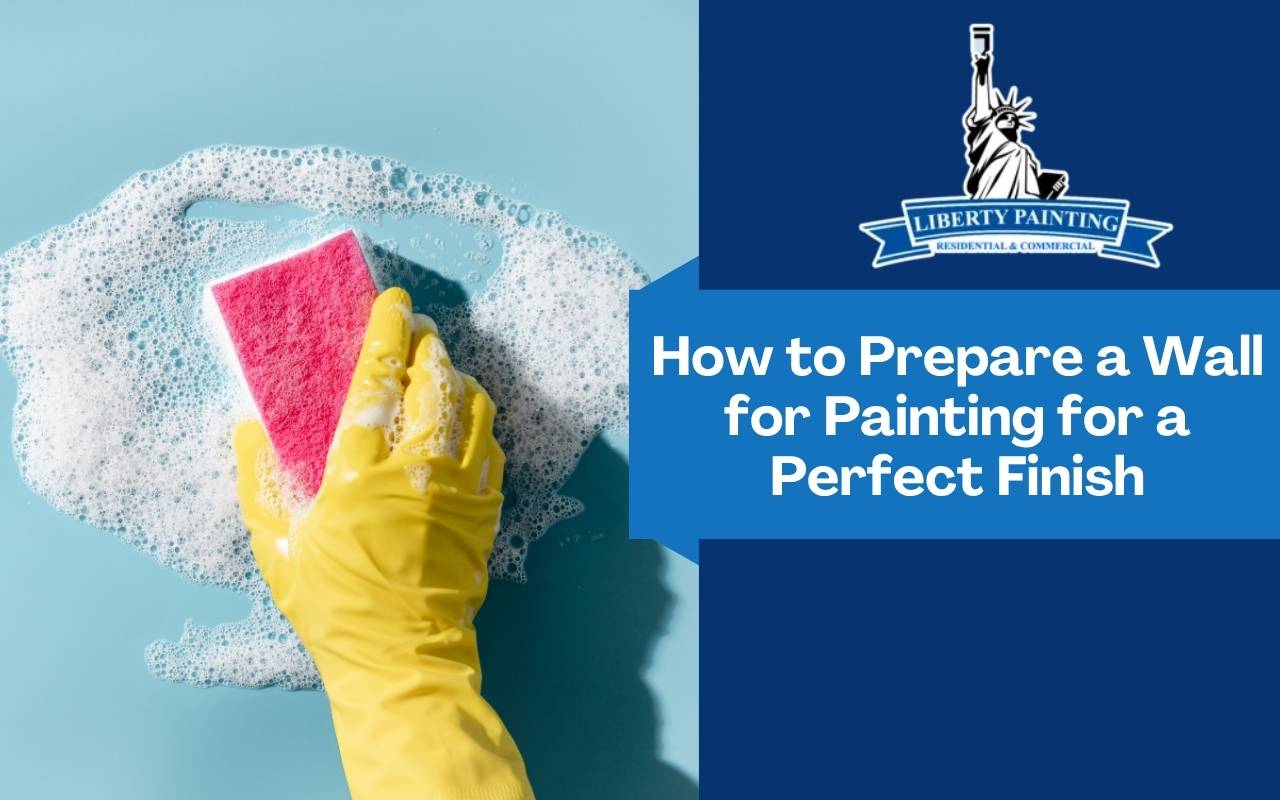
The first and most important step is cleaning your walls. Over time, dust, oils, fingerprints, and airborne particles from cooking or candles settle onto wall surfaces. Painting over this buildup can lead to bubbling, poor adhesion, and uneven color.
Use warm water and a small amount of dish soap or vinegar to wipe down the walls. For high-traffic areas or rooms like kitchens and bathrooms, a degreasing cleaner may be needed. After washing, rinse the surface with clean water and allow it to dry fully before continuing.
Check for Damage and Repair as Needed
Once your wall is clean, inspect it under natural light to spot imperfections. Small holes from nails or screws should be filled with spackling paste or joint compound. Cracks and dents may require additional smoothing or a second application. Once the filler is dry, sand the surface until it feels even with the surrounding area.
Walls with flaking or peeling paint also need attention. Scrape away any loose pieces and lightly sand the area to create a uniform surface. This helps prevent future peeling and ensures your new coat of paint lays down evenly.
Prime the Wall to Seal and Smooth
The last major step in how to prepare walls for painting is priming. A quality primer creates a consistent base for your topcoat. It helps seal porous surfaces like drywall and covers patched areas, preventing blotchy or uneven results.
If your wall has stains, bold colors, or repaired sections, a primer is essential for full coverage. In some cases—like repainting over flat paint—you may be able to use a paint-and-primer-in-one product. Still, for the most professional outcome, a dedicated primer is usually worth the extra step.
Long-Term Results Start with Solid Prep
Taking the time to prep your walls properly not only improves the way the paint looks today but also extends its life. A properly prepped and painted wall can go several years without needing a touch-up. In rooms like kitchens or bathrooms, repainting may be needed every 3–4 years, while bedrooms and living areas can last 4–5 years or more.
Skipping prep might mean your paint chips, fades, or peels long before it should. That’s why Liberty Painting takes prep seriously. It’s the first step toward a clean, flawless finish.
FAQs – How to Prepare a Wall for Painting
Do I need to wash the walls before painting?
Yes, always. Even clean-looking walls have dust and oil that affect how paint sticks. Cleaning is a must.
What should I use to fill holes or cracks?
Spackling paste or lightweight joint compound works best. Apply with a putty knife and sand smooth after it dries.
Is primer always necessary?
It depends on the condition of the wall. For stained, patched, or porous surfaces, primer ensures the best result.
Let Liberty Painting Handle the Prep for You
If you’re not sure how to prepare a wall for painting, let Liberty Painting do it for you. We’ll make sure every surface is cleaned, patched, primed, and ready, so your paint lasts longer and looks better.
Contact us today for a free estimate and expert guidance on your next painting project.


