Connect with Us
to Discuss Your Project

Different Techniques for Painting That Boost Results
Understanding the different techniques for painting can transform your next home project. Whether you're aiming for a flawless finish or want to add subtle texture, your tools and approach matter. At Liberty Painting, we help homeowners take their results from basic to professional by combining proper prep with the right painting methods.
Learning how to paint effectively isn’t just about the color you choose—it starts long before the brush touches the wall. In fact, knowing how to prep a wall for paint makes a bigger difference than most people realize. Smooth walls, clean edges, and high-quality coverage all begin with good technique and preparation.
Why Wall Prep Always Comes First
Before you try any new painting technique, the surface must be properly prepared. This means cleaning the walls to remove dust, oils, and residue, especially in areas like kitchens or bathrooms. Next comes repairing any nail holes or cracks using spackling paste or joint compound. Once dry, sanding the patched spots helps create a uniform surface.
Failing to prep correctly can ruin even the most careful brushwork. Peeling paint, uneven texture, and poor coverage often happen when paint is applied over a dirty or damaged wall. That’s why professional painters always prioritize cleaning, patching, and priming. If you're wondering how to prepare walls for painting, that’s the basic formula.
Exploring Techniques That Enhance Paint Finish
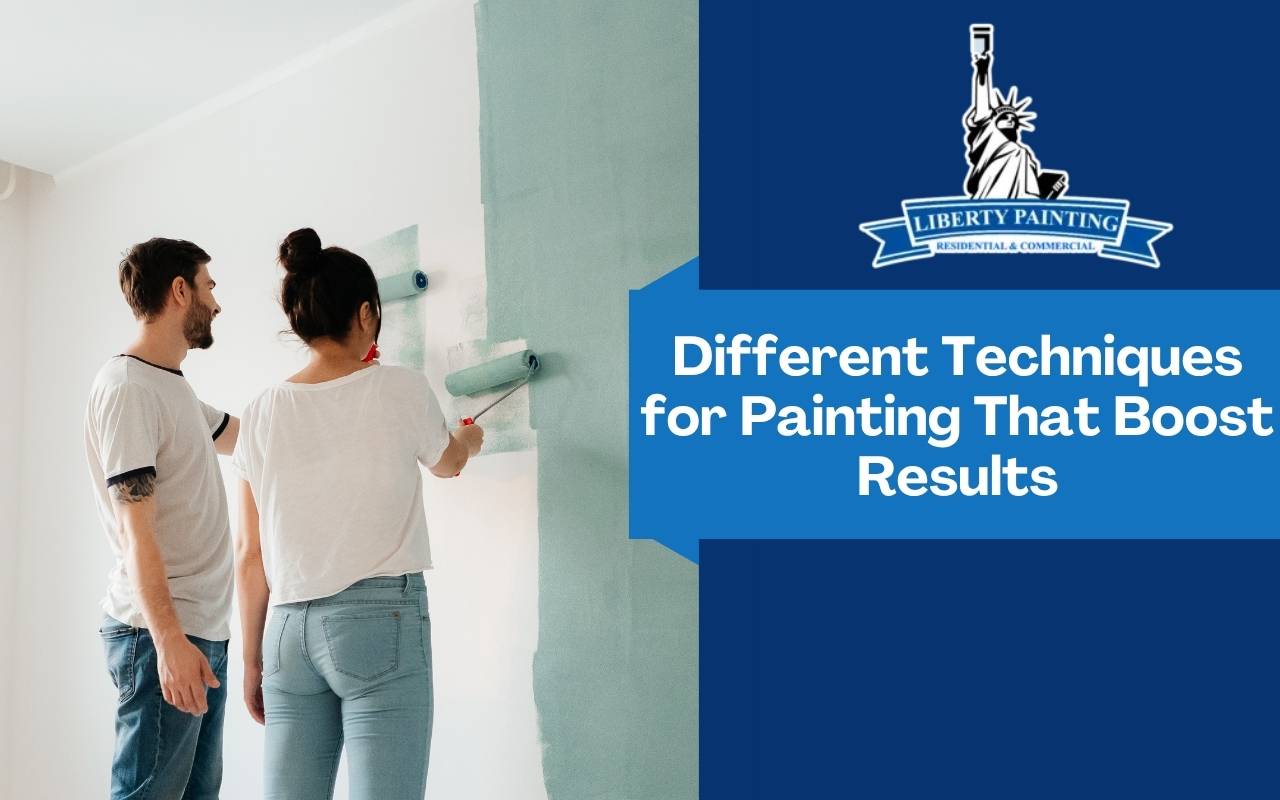
After your walls are prepped, choosing the right application method will determine how your final result looks. Brushing is ideal for edges, trim, and corners, allowing for precision. However, rolling paint over large, flat surfaces provides speed and even coverage. Using a roller with the right nap thickness based on your wall texture ensures fewer streaks and smoother results.
For a more refined look, cutting in edges before rolling the walls helps blend lines and avoid overlap marks. Some professionals also recommend painting in small sections to keep the paint wet and workable, which prevents visible lap lines.
If you're trying a more creative finish, techniques like color washing, sponging, or dry brushing can add subtle visual interest. These decorative styles require careful control and, again, a properly prepared surface to work well.
Choosing Tools Based on Technique
Your choice of brushes, rollers, or sprayers directly impacts how your paint goes on. A high-quality angled brush gives you cleaner edges around baseboards and ceilings. Rollers with shorter naps are great for smooth walls, while thicker naps work better for textured surfaces.
In some cases—such as ceilings or large open rooms—a sprayer may provide the most even and efficient coverage. However, spray painting requires thorough masking of floors and fixtures, making it more suitable for experienced painters or professionals.
No matter which technique you choose, good prep and smart tool selection are what ensure long-lasting, professional-looking results.
FAQs – Different Techniques for Painting
What’s the best technique for painting walls evenly?
Cut in around edges with a brush first, then use a roller in a “W” or “M” motion to blend sections without streaks.
Do I need to sand before painting?
If the wall is patched, damaged, or previously glossy, yes. Sanding helps paint stick and prevents peeling.
Can I use multiple painting techniques in one room?
Yes, especially for accent walls or decorative finishes. Just make sure the wall is cleaned and primed first.
Let Liberty Painting Guide Your Next Project
If you're thinking about trying different techniques for painting, Liberty Painting is here to help you get it right. From proper wall prep to choosing the right brushes and finishes, we deliver high-quality results you’ll love.
Contact us today for expert interior painting services that combine skill, attention to detail, and flawless technique from start to finish.


